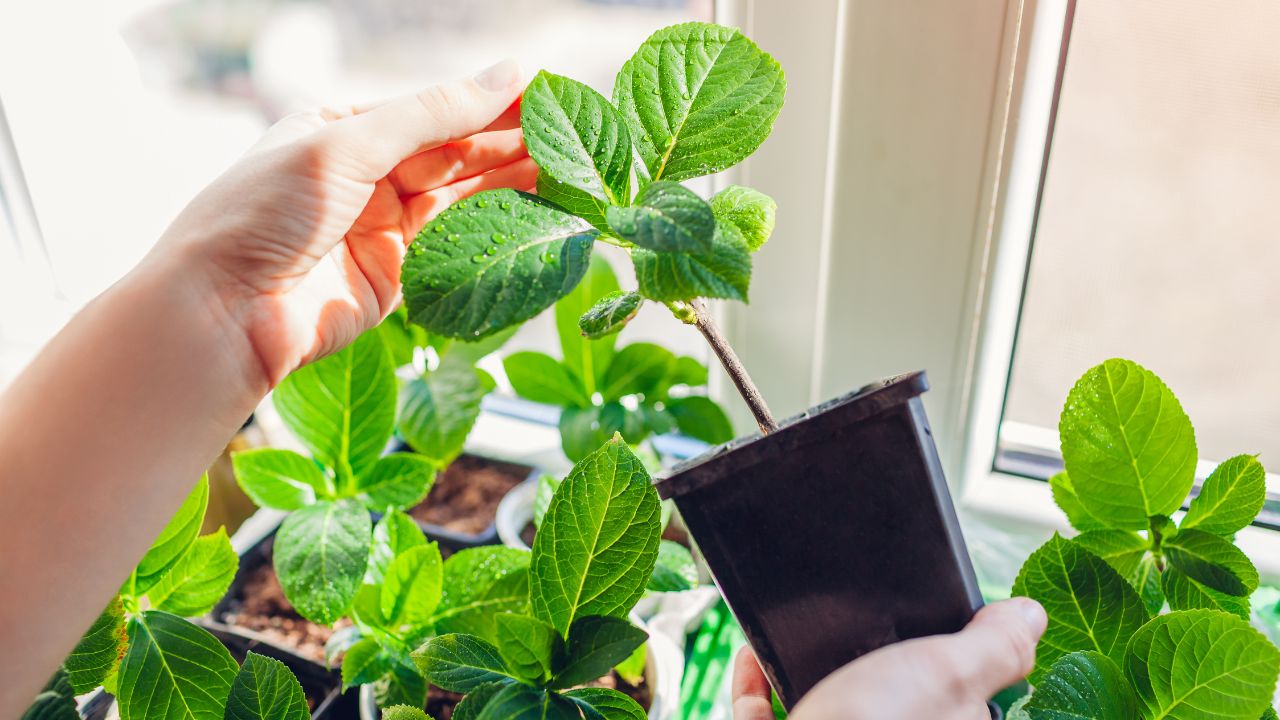
Hydrangeas are beautiful flowering shrubs that come in a variety of colors, shapes, and sizes. They are easy to grow and care for, and they can brighten up any garden or landscape. But did you know that you can also propagate hydrangeas from cuttings and create new plants for free? Propagating hydrangeas is a fun and rewarding activity that anyone can do with some basic tools and materials. In this article, Trendbbq will show you how to propagate hydrangeas using different methods, such as cuttings, ground layering, and changing app icons. I’ll also explain how to care for your new hydrangea plants and enjoy them for years to come.
Table of Contents,
1. What You Need to Propagate Hydrangeas
Before you start propagating hydrangeas, you’ll need to gather some supplies and equipment. Here is a list of what you’ll need:
- A healthy hydrangea plant that has new growth and no flowers
- A sharp pair of secateurs or pruning shears
- A sharp knife or a razor blade
- A small pot or container with drainage holes
- A gritty, well-drained potting mix or a homemade mix of equal parts coconut coir and river sand
- A rooting hormone powder or gel (optional but recommended)
- A plastic bag or a clear plastic dome
- A spray bottle with water
- A sheltered location out of direct sunlight
2. How to Propagate Hydrangeas from Cuttings
Propagating hydrangeas from cuttings can be a rewarding way to create new plants with the same characteristics as the parent plant. Here’s how to propagate hydrangeas from cuttings:
Selecting the Parent Plant: Choose a healthy and mature hydrangea plant as the source for your cuttings. The plant should be free from diseases or pests.
Taking Cuttings:
- Select softwood cuttings, which are young, flexible stems that haven’t yet hardened. These are usually taken in spring or early summer.
- Cut a stem that is around 4 to 6 inches long, just below a leaf node (where leaves attach to the stem). Use sharp, clean pruning shears to make a clean cut.
Prepare the Cuttings:
- Remove the lower leaves from the cutting, leaving only a few leaves at the tip. This helps reduce moisture loss and encourages root development.
- If desired, dip the cut end of the stem in rooting hormone to promote root growth.
Planting the Cuttings:
- Fill a small pot or planting container with well-draining potting mix.
- Make a small hole in the soil using a pencil or your finger.
- Insert the cutting into the hole, gently pressing the soil around it to ensure good contact.
Watering: Water the cutting thoroughly to settle the soil around it. Use a watering can or spray bottle to avoid dislodging the cutting.
Covering and Creating Humidity: Cover the pot or container with a plastic bag or place it under a propagation dome to create a humid environment that will help the cutting retain moisture.
Provide Indirect Light: Place the pot in a bright but indirect light location. Avoid direct sunlight, as it can scorch the cuttings.
Monitor and Maintain: Check the cuttings regularly to ensure the soil remains moist but not soggy. Mist the cuttings with water if the humidity drops.
Rooting Time: Rooting time can vary, but in a few weeks to a couple of months, you should start to see new growth and roots forming.
Transplanting: Once the cuttings have developed a good root system, you can transplant them into larger pots or directly into the garden, depending on the season and your location.

3. How to Propagate Hydrangeas by Ground Layering
Another way to propagate hydrangeas is by ground layering. Ground layering is a technique where you bend a low-growing branch of a hydrangea plant to touch the ground and encourage it to root while still attached to the parent plant. Here are the steps to follow:
- Choose a healthy branch that is close to the ground and flexible enough to bend without breaking. Remove any leaves or flowers where the branch will touch the ground when you gently bend it down.
- Scrape some bark off the branch in this area with your knife or razor blade. This will expose some green tissue that will help root formation.
- Dig a shallow trench in the soil where the branch will lie down. Sprinkle some rooting hormone on the wound if you have it.
- Lay the branch down in the trench so that the wounded part is in contact with the soil. Cover it with soil and secure it with a U-shaped wire or a stone.
- Leave about 15 cm of branch tip above the ground and stake it upright. This will help the branch to grow vertically and form a new plant.
- Water the branch well and keep the soil moist but not soggy. Do not cut the branch from the parent plant until it has rooted.
- After about two to six months, check for roots by gently lifting the branch from the soil. If you see roots, you can cut the branch from the parent plant and transplant it to a new location.

4. How to Care for Your New Hydrangea Plants
After successfully propagating your hydrangeas, proper care is essential to ensure their robust growth and vitality.
- Select an Appropriate Location: Opt for a spot that receives partial sun or filtered shade for your hydrangeas. Avoid areas with excessive sunlight or deep shade, as these conditions can cause stress to your plants.
- Maintain Adequate Watering: Regular watering is crucial, particularly in hot and arid conditions. Keep the soil consistently moist without making it overly soggy. Be cautious not to wet the leaves or flowers, as this can encourage fungal diseases.
- Fertilize Wisely: Feed your hydrangeas once or twice a year using a balanced fertilizer or organic compost. Exercise restraint when fertilizing, as excessive amounts can scorch the plants or diminish their blooming potential.
- Pruning Guidelines: In late winter or early spring, depending on the hydrangea variety, embark on pruning. Trim away any dead, infected, or damaged branches. Mold your plants to your preferred shape. Keep in mind that certain hydrangeas blossom on old wood, while others flourish on new wood—confirm before pruning.
- Shield from Environmental Threats: Safeguard your hydrangeas from frost, pests, and diseases. In chilly climates, cover your plants with frost cloth or mulch during winter. Routinely inspect your plants for signs of pests or diseases, and adopt appropriate measures—be it organic or chemical—to address the issues.
5. FAQs
What is propagation, and why would I want to propagate my hydrangeas?
Propagation is the process of creating new plants from existing ones. Propagating hydrangeas allows you to expand your garden or share plants with friends and family without purchasing new ones.
When is the best time to propagate hydrangeas?
The best time to propagate hydrangeas is in early spring or late summer when the plants are actively growing. This gives them the best chance to establish new roots.
What are the methods for propagating hydrangeas?
Hydrangeas can be propagated through methods like stem cuttings, layering, and division.
How do I propagate hydrangeas using stem cuttings?
Take a 4-6 inch cutting from a healthy hydrangea stem, remove lower leaves, and dip the cut end in rooting hormone. Plant the cutting in a well-draining soil mix and keep it moist until roots develop.


