Boiling eggs is one of the simplest and most common ways to cook eggs. However, it can also be tricky and frustrating if you don’t know how to do it properly. Boiling eggs involves more than just putting them in a pot of water and waiting for them to cook. You need to consider factors such as the size, freshness, and temperature of the eggs, the amount and temperature of the water, and the desired doneness of the eggs.
In this article, Trendbbq will show you how to boil eggs using some easy and foolproof methods that will give you perfect and easy eggs every time. We will also give you some tips on how to peel, store, and use boiled eggs.
Table of Contents,
1. How to Boil Eggs with the Cold Start Method
The cold start method is one of the most popular and reliable methods to boil eggs. It involves starting with cold water and cold eggs, bringing them to a boil, and then turning off the heat and letting them sit in the hot water until they are done. Here are the steps that you need to follow to boil eggs with the cold start method:
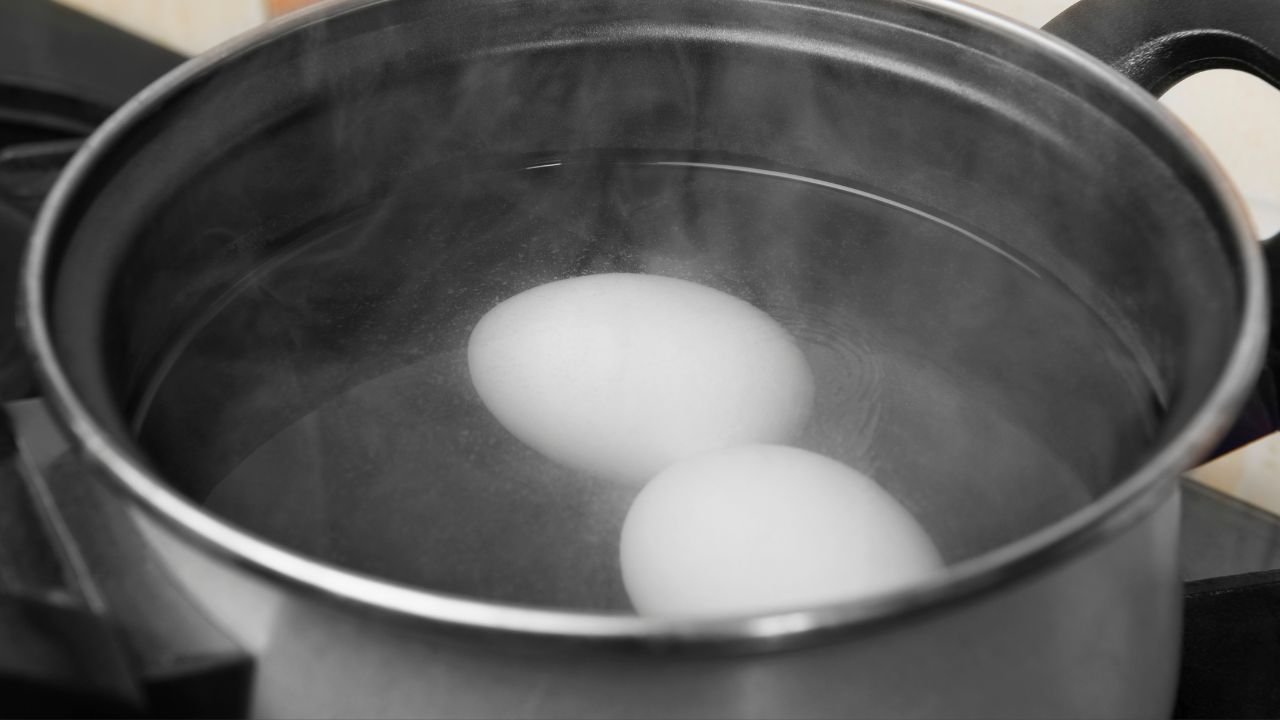
- Fill a pot with enough water to cover your eggs: You can use any pot that is large enough to hold your eggs in a single layer. Fill it with enough cold water to cover your eggs by about an inch.
- Add some salt or vinegar to the water: You can add a pinch of salt or a splash of vinegar to the water to help prevent the eggs from cracking and make them easier to peel. Salt or vinegar can also enhance the flavor of the eggs.
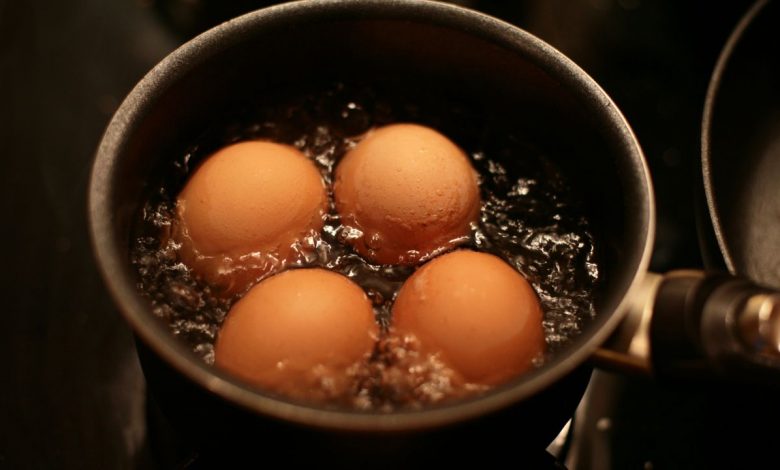
- Place your eggs in the pot and bring the water to a boil: You can use any type of eggs that you like, such as large, medium, or small. You should also use cold eggs from the refrigerator, not room temperature ones. Place your eggs gently in the pot using a spoon or your hand. Then, bring the water to a rolling boil over high heat.
- Turn off the heat and cover the pot with a lid: As soon as the water reaches a boil, turn off the heat and cover the pot with a lid. Do not remove the pot from the burner or lift the lid as this may affect the cooking time and temperature.
- Let your eggs sit in the hot water until they are done: Depending on how you like your eggs, you can let them sit in the hot water for different amounts of time. Here are some general guidelines for different levels of doneness:
- Soft-boiled: 4 to 6 minutes for runny yolks and soft whites
- Medium-boiled: 8 to 10 minutes for creamy yolks and firm whites
- Hard-boiled: 12 to 15 minutes for solid yolks and whites
- Transfer your eggs to an ice bath or cold water: When your eggs are done, transfer them immediately to an ice bath or cold water using a slotted spoon or tongs. This will stop the cooking process and prevent overcooking or green rings around the yolks. It will also make them easier to peel.

2. How to Boil Eggs with the Hot Start Method
The hot start method is another common and easy method to boil eggs. It involves starting with boiling water and adding cold eggs to it, then reducing the heat and simmering them until they are done.
Here are the steps that you need to follow to boil eggs with the hot start method:
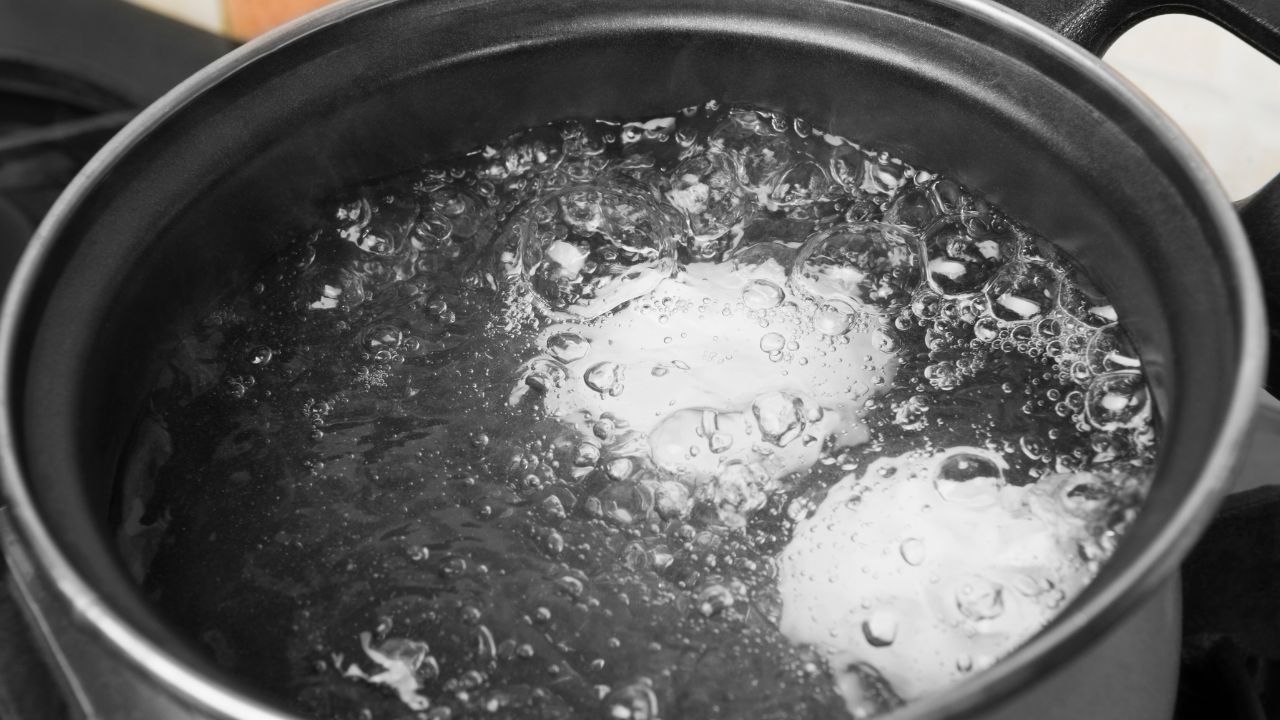
- Bring a pot of water to a boil: You can use any pot that is large enough to hold your eggs in a single layer. Bring enough water to a rolling boil over high heat. You do not need to add salt or vinegar to the water as they may cause the shells to crack when added to boiling water.
- Lower your eggs into the boiling water carefully: You can use any type of eggs that you like, such as large, medium, or small. You should also use cold eggs from the refrigerator, not room temperature ones. Lower your eggs carefully into the boiling water using a spoon or your hand. Do not drop them as they may crack or splash.
- Reduce the heat and simmer your eggs until they are done: As soon as you add your eggs to the boiling water, reduce the heat to maintain a gentle simmer. Do not let the water boil vigorously as this may cause the shells to crack or make the whites rubbery. Simmer your eggs until they are done according to your preference. Here are some general guidelines for different levels of doneness:
- Soft-boiled: 5 to 7 minutes for runny yolks and soft whites
- Medium-boiled: 9 to 11 minutes for creamy yolks and firm whites
- Hard-boiled: 13 to 17 minutes for solid yolks and whites
- Transfer your eggs to an ice bath or cold water: When your eggs are done, transfer them immediately to an ice bath or cold water using a slotted spoon or tongs. This will stop the cooking process and prevent overcooking or green rings around the yolks. It will also make them easier to peel.

3. How to Peel, Store, and Use Boiled Eggs
Once you’ve finished boiling your eggs, there are a few steps you can take to peel, preserve, or incorporate them into your culinary endeavors. Here are some helpful pointers:
- Peeling Eggs: When it comes to peeling your eggs, you have the option to do so while they’re still warm or after they’ve cooled down. Your choice can be influenced by personal preference. Some individuals find it more manageable to peel warm eggs due to the shells coming off more smoothly. On the other hand, some prefer cold eggs as the shells tend to separate from the whites more effectively. For peeling, gently tap the eggs on a solid surface to create cracks in the shells, then roll them between your hands to loosen the shells. Begin peeling from the larger end of the egg where the air pocket resides. Afterwards, rinse off any remaining shell fragments or membranes under running water.
- Storage of Boiled Eggs: Depending on your plans, you can either store your boiled eggs in the refrigerator or the freezer. If you’re opting for the refrigerator, ensure they’re placed within an airtight container or resealable plastic bag, allowing them to remain fresh for up to a week. Alternatively, if you’d like to store them in the freezer, first peel the eggs and then arrange them in a freezer-safe container or resealable plastic bag. They can be stored for approximately 3 months in the freezer. If you anticipate needing to use them more conveniently, consider slicing or chopping the eggs before freezing.
- Creative Culinary Use: Boiled eggs are remarkably versatile and can be incorporated into a wide array of dishes. These include classics such as salads, sandwiches, deviled eggs, egg salad, and even egg curry. Alternatively, you can enjoy them simply by adding a touch of salt, pepper, or your favorite sauce to enhance their flavor.
Boiling eggs is a simple and versatile way to cook eggs that can be used for various dishes. However, you need to know how to boil eggs properly to get the best results. In this article, we showed you how to boil eggs using two different methods: the cold start method and the hot start method. We also gave you some tips on how to peel, store, and use boiled eggs.
4. FAQs
How long should I boil eggs to achieve the desired level of doneness?
For soft-boiled eggs with a runny yolk, boil for about 4-6 minutes. For hard-boiled eggs with a fully set yolk, boil for around 9-12 minutes.
What’s the best way to prevent eggs from cracking while boiling?
Start with room temperature eggs to reduce the likelihood of cracking. Gently place the eggs in a pot of water and avoid dropping them in from a height.
How do I make peeling boiled eggs easier?
After boiling, immediately transfer the eggs to a bowl of ice water to cool. This will create a slight temperature difference between the egg and its shell, making it easier to peel.
How can I avoid that grayish-green ring around the yolk of boiled eggs?
The gray-green ring results from overcooking. To prevent it, avoid boiling eggs for too long. As soon as they are done, transfer them to ice water to stop the cooking process.
>>> See more: How To Tell If Eggs Are Spoiled: 4 Simple Ways


