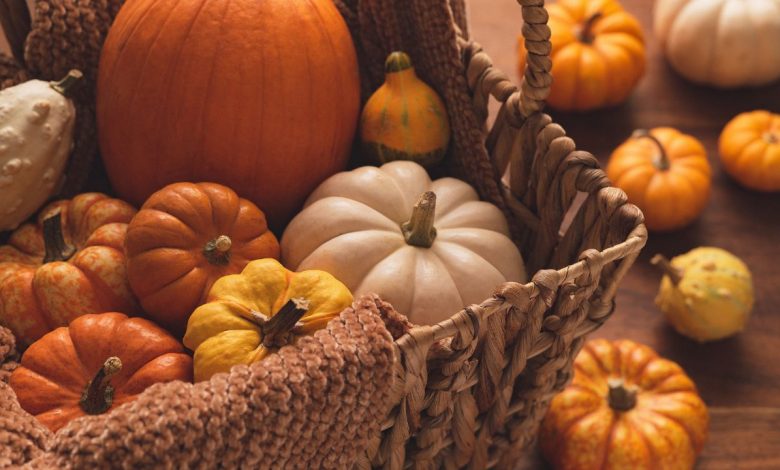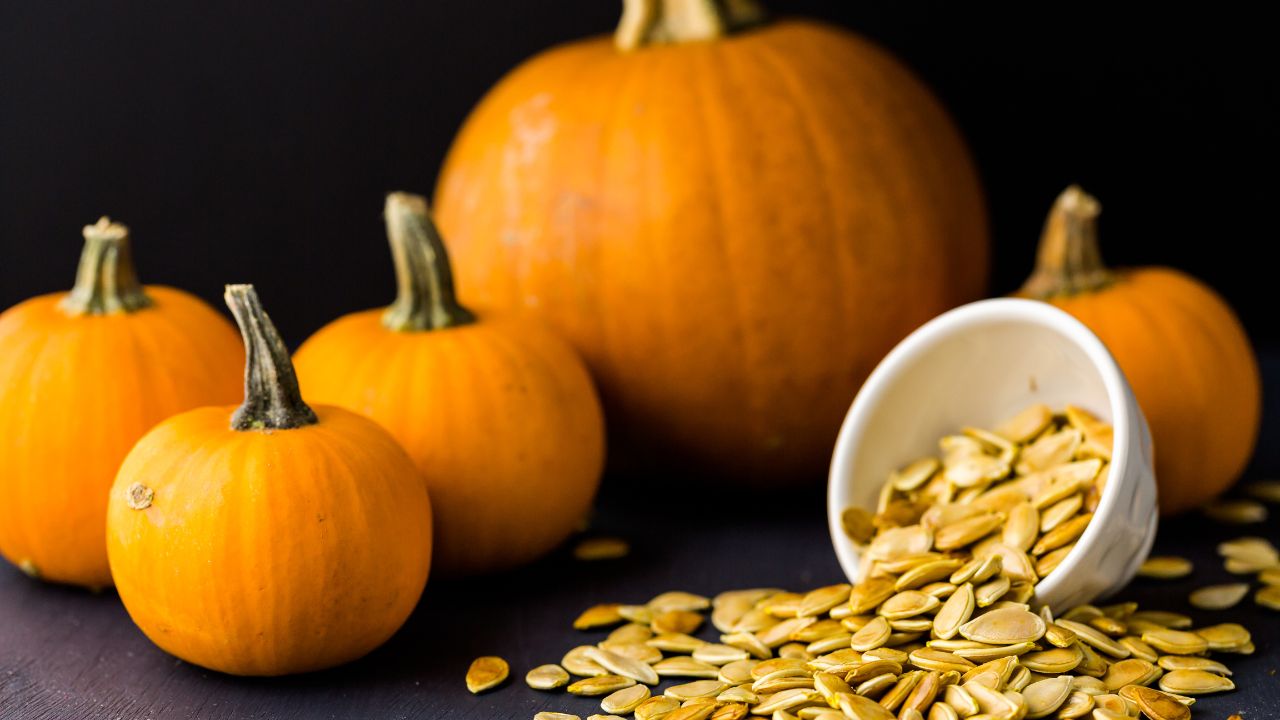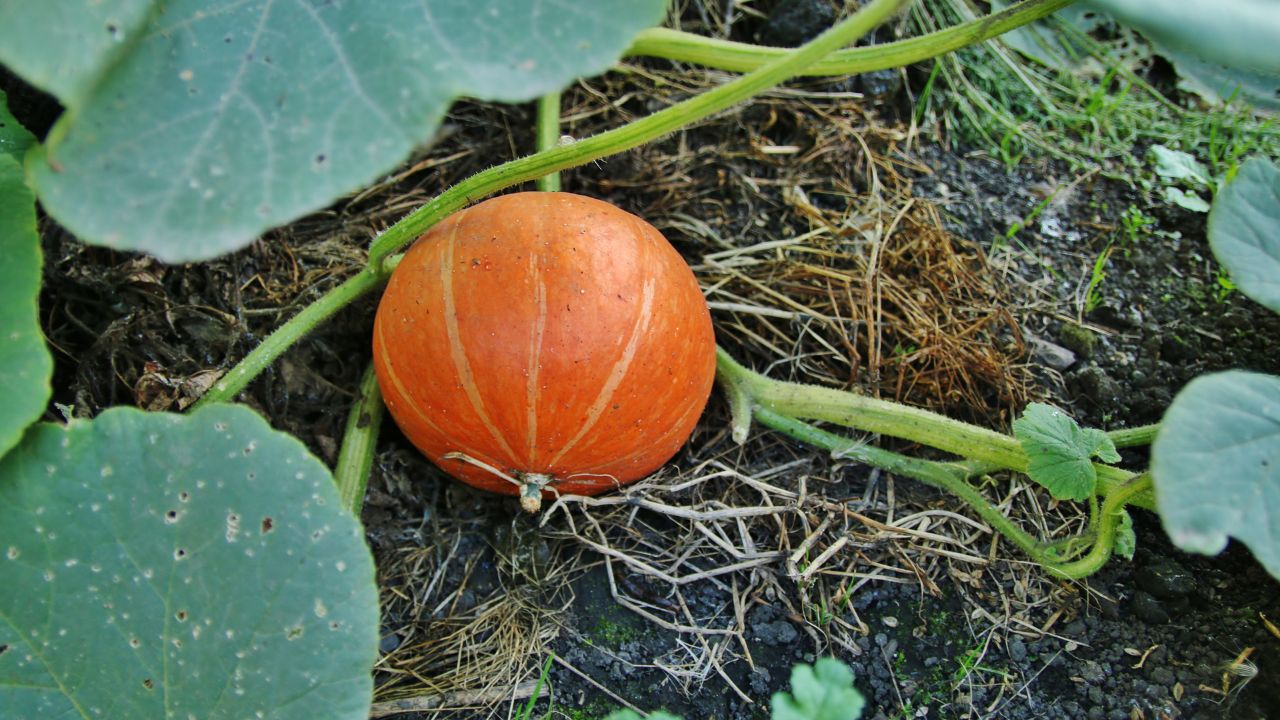
Pumpkins are a versatile and rewarding crop that can be grown in many climates and regions. They are not only great for carving and decorating, but also for cooking and eating. Pumpkins are rich in vitamin A, vitamin C, fiber, and antioxidants, and can be used to make pies, soups, breads, muffins, and more.
However, growing pumpkins is not as easy as it may seem. Pumpkins require a lot of space, sun, water, and care to produce large and healthy fruits. They also have a long growing season, which means you need to plan ahead and start early. In this article, Trendbbq will show you how to grow pumpkins from seed to harvest, as well as some tips and tricks to make your pumpkin patch a success.
Table of Contents,
1. Step 1: Choose Your Pumpkin Variety
To initiate the pumpkin growing process, the first step is to select your preferred pumpkin variety. There is a wide array of pumpkin types available, spanning from petite and ornamental to substantial and suitable for consumption. Among the most common pumpkin varieties are:
- Jack-o’-lantern: These are the quintessential pumpkins intended for carving and presentation. They boast a vibrant orange hue, a sleek surface, and a spherical form. Typically weighing between 10 and 20 pounds (4.5 and 9 kg), they possess a mild flavor suitable for culinary purposes. Noteworthy examples of jack-o’-lantern pumpkins include Howden, Connecticut Field, and Racer.
- Pie: These pumpkins are ideal for crafting delectable pies and other desserts. They exhibit a sweet and nutty taste, a smooth consistency, and a deep orange pigment. Smaller than their jack-o’-lantern counterparts, they typically weigh between 4 and 8 pounds (1.8 and 3.6 kg) and feature a denser flesh conducive to pureeing. Prominent varieties of pie pumpkins encompass Sugar Pie, Baby Pam, and Winter Luxury.
- Giant: These are the pumpkins cultivated for competitive events and exhibitions. They can reach staggering weights, ranging from several hundred pounds to over a ton, and come in pale orange or yellow hues. Characterized by a thin skin and watery flesh with limited taste and nutritional value, growing giant pumpkins demands ample space, water, fertilization, and attentive care. Notable giant pumpkin varieties include Atlantic Giant, Big Max, and Dill’s Atlantic Giant.
- Specialty: This category encompasses pumpkins distinguished by their unique shapes, colors, or patterns. Mainly grown for ornamental purposes, some can also be consumed. They vary in size, shape, color, texture, and flavor, offering a wide range of possibilities. Exemplary specialty pumpkin varieties encompass Cinderella, Blue Hubbard, Jarrahdale, White Ghost, Red Warty Thing, and Fairytale.
When making your choice of pumpkin variety, take into account the following considerations:
- Garden Size: Pumpkins require significant space to grow and extend their vines, with each plant potentially occupying up to 50 square feet (4.6 m2). For small gardens or container gardening, opt for compact or bush varieties with shorter vines.
- Growing Season Length: Pumpkins necessitate a minimum of 75 to 120 frost-free days to fully mature. In regions with colder climates or shorter growing seasons, select early-maturing varieties capable of producing fruit more quickly.
- Purpose: Tailor your pumpkin selection to your intended use. Choose jack-o’-lantern varieties for carving or decorating, pie varieties for culinary endeavors due to their sweet flavor and smooth texture, and giant varieties for recreational purposes or competitions, as they can achieve extraordinary sizes.
2. Step 2: Start Your Pumpkin Seeds
The next step to grow pumpkins is to start your pumpkin seeds indoors or outdoors.
Starting Seeds Indoors
Starting seeds indoors is recommended if you live in a cold region or have a short growing season. This way, you can give your pumpkin plants a head start before transplanting them outside.
To start seeds indoors:
- Choose a sunny spot near a window or use artificial lights.
- Fill small pots or peat pots with moist potting soil.
- Plant two or three seeds per pot about 1 inch (2.5 cm) deep.
- Cover the pots with plastic wrap or a dome to create a mini greenhouse.
- Keep the soil moist but not soggy, and the temperature between 70 and 85 degrees Fahrenheit (21 and 29 degrees Celsius).
- Thin out the seedlings to one per pot when they have two true leaves.
- Harden off the seedlings by exposing them to outdoor conditions gradually for a week before transplanting them outside.
Start your seeds indoors about two to four weeks before the last frost date in your area.
Starting Seeds Outdoors
Starting seeds outdoors is possible if you live in a warm region or have a long growing season. This way, you can avoid the hassle of transplanting and reduce the risk of transplant shock.
To start seeds outdoors:
- Choose a sunny spot with well-drained soil that has been enriched with compost or manure.
- Build raised hills or mounds about 6 inches (15 cm) high and 4 feet (1.2 m) in diameter, spaced 4 to 8 feet (1.2 to 2.4 m) apart.
- Plant four or five seeds per hill about 1 inch (2.5 cm) deep.
- Water the seeds well and keep the soil moist but not soggy.
- Thin out the seedlings to two or three per hill when they have two true leaves.
Start your seeds outdoors after the last frost date in your area, when the soil temperature is at least 60 degrees Fahrenheit (16 degrees Celsius).

3. Step 3: Care for Your Pumpkin Plants – How to Grow Pumpkins
The third step to grow pumpkins is to care for your pumpkin plants as they grow and develop.
Watering
Watering is essential for pumpkin plants, especially during flowering and fruiting stages. Pumpkins need about 1 to 2 inches (2.5 to 5 cm) of water per week, depending on the weather and soil conditions. Water deeply and infrequently, rather than shallowly and frequently, to encourage deep root growth and prevent diseases. Avoid wetting the leaves and fruits, as this can cause fungal infections and rotting. Use a soaker hose, a drip irrigation system, or a watering can to water at the base of the plants.
Fertilizing
Fertilizing is important for pumpkin plants, especially for giant varieties that need a lot of nutrients to grow large fruits. Pumpkins need a balanced fertilizer that contains nitrogen, phosphorus, and potassium, such as a 10-10-10 or a 20-20-20 formula. Apply fertilizer according to the package instructions, usually every two to four weeks during the growing season. Alternatively, you can use organic fertilizers such as compost, manure, fish emulsion, or seaweed extract to feed your plants.
Weeding
Weeding is necessary for pumpkin plants, especially when they are young and vulnerable to competition. Weeds can rob your plants of water, nutrients, light, and space, as well as harbor pests and diseases. Weed your pumpkin patch regularly by hand or with a hoe, being careful not to damage the roots or vines of your plants. Mulch your pumpkin patch with straw, hay, grass clippings, or wood chips to suppress weeds and conserve moisture.
Pollinating
Pollinating is crucial for pumpkin plants, as they need insects such as bees to transfer pollen from male flowers to female flowers in order to produce fruits. Male flowers have long stems and no fruit at the base, while female flowers have short stems and a small bulge at the base that will become the pumpkin. If you have a low bee population in your area or want to ensure good fruit set, you can hand-pollinate your pumpkin plants by using a small paintbrush or cotton swab to transfer pollen from male flowers to female flowers. Do this in the morning when the flowers are open and fresh.
Supporting
Supporting is optional for pumpkin plants, depending on the size and weight of your fruits. If you are growing pumpkins on a trellis or in containers, you may need to support your fruits with slings made of cloth, netting, or pantyhose. This will prevent your fruits from falling off or breaking under their own weight. If you are growing pumpkins on the ground, you may need to rotate your fruits occasionally to prevent them from rotting on one side or developing flat spots.

4. Step 4: Harvest Your Pumpkins
The final step to grow pumpkins is to harvest your pumpkins when they are ripe and ready.
When to Harvest
The best time to harvest pumpkins is when they have reached their full size, color, and hardness. You can test this by:
- Looking at the color: Pumpkins should have a uniform color that matches their variety. For example, jack-o’-lantern pumpkins should be bright orange, pie pumpkins should be deep orange, giant pumpkins should be pale orange or yellow, and specialty pumpkins should be white, blue, red, or green.
- Feeling the skin: Pumpkins should have a hard
- Tapping the stem: Pumpkins should have a hollow sound when you tap the stem with your finger or a wooden spoon. If the sound is dull or soft, the pumpkin is not ripe yet.
- Checking the vine: Pumpkins should have a brown and dry vine that is starting to shrivel and detach from the fruit. If the vine is still green and moist, the pumpkin is not ripe yet.
Harvest your pumpkins before the first frost, as frost can damage the skin and reduce the storage life of your pumpkins. However, do not harvest your pumpkins too early, as they will not ripen further after being picked.
How to Harvest
To harvest your pumpkins, use a sharp knife or pruning shears to cut the stem about 3 to 4 inches (7.5 to 10 cm) from the fruit. Do not pull or twist the stem, as this can damage the pumpkin and create an entry point for diseases. Leave some stem attached to the pumpkin, as this will help prevent rotting and improve the appearance of your pumpkin. Do not carry your pumpkin by the stem, as this can break it off and expose the flesh to infection. Carry your pumpkin by supporting it from underneath with both hands.
How to Cure
To cure your pumpkins, place them in a warm and dry place with good air circulation for about 10 days. This will harden the skin, heal any wounds, and enhance the flavor and color of your pumpkins. Curing also helps extend the storage life of your pumpkins, which can last up to several months if stored properly.
How to Store
To store your pumpkins, keep them in a cool and dry place away from direct sunlight and heat sources. The ideal temperature for storing pumpkins is between 50 and 60 degrees Fahrenheit (10 and 15 degrees Celsius), and the ideal humidity is between 50 and 70 percent. Check your pumpkins regularly for signs of rotting or mold, and discard any that are damaged or spoiled.
Growing pumpkins is a fun and rewarding activity that can bring you beautiful and delicious fruits for a variety of purposes. By following the steps above, you can grow pumpkins from seed to successful harvest.
>>> See more: How to Plant Garlic: A Comprehensive Guide
5. FAQs
When is the best time to plant pumpkin seeds?
The ideal time to plant pumpkin seeds is in the late spring or early summer when the soil has warmed up to at least 70°F (21°C) and the risk of frost has passed.
How do I choose the right location for my pumpkin patch?
Select a sunny spot with well-drained soil. Pumpkins thrive in full sun, so choose a location that receives at least 6-8 hours of direct sunlight each day.
What type of soil is best for growing pumpkins?
Pumpkins prefer well-draining, loamy soil with a slightly acidic to neutral pH (around 6.0 to 7.0). Amending the soil with organic matter like compost can improve its quality.
How should I plant pumpkin seeds?
Plant pumpkin seeds about 1 inch deep in hills or rows, with a spacing of 4-6 feet between each hill or row. Each hill can have 2-3 seeds, and once they sprout, thin them to the healthiest plant.
When is the right time to harvest pumpkins?
Pumpkins are typically ready for harvest when the skin has hardened and developed a deep, uniform color, and the stem is dry and brown. This is usually in the fall.


