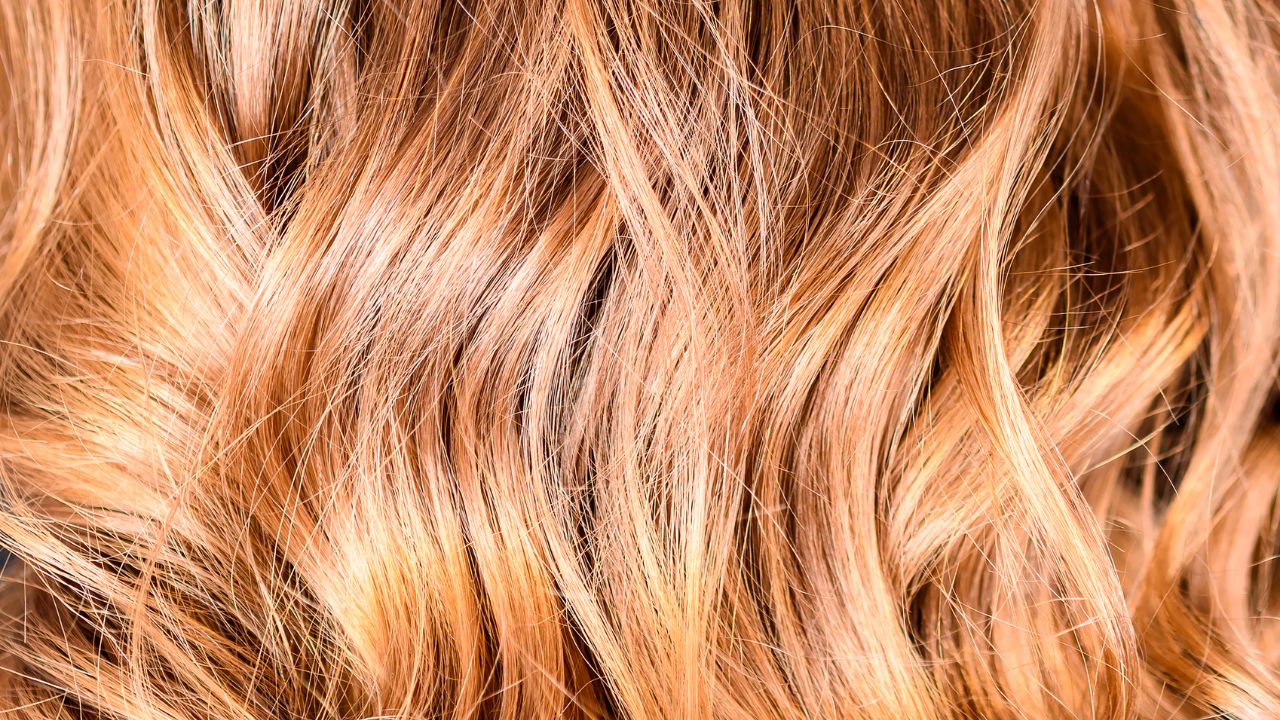
Are you looking to add some sun-kissed, natural-looking highlights to your hair without the expense of a salon visit? Highlighting your hair at home is an excellent option, and it’s not as complicated as you might think. In this guide, Trendbbq will walk you through the step-by-step process of how to highlight hair at home, providing you with the tips and tricks to achieve salon-quality results in the comfort of your own space. So, let’s embark on this DIY journey and discover the art of home hair highlighting.
Table of Contents,
- 1. How to Choose the Best Highlight Style, Color, and Kit for Your Hair
- 2. How to Prepare Your Hair and Workspace for the Highlighting Process
- 3. How to Apply the Highlight Product to Your Hair Using Different Techniques
- 4. How to Rinse, Dry, and Style Your Highlighted Hair
- 5. How to Care for and Maintain Your Highlighted Hair
- 6. FAQs
1. How to Choose the Best Highlight Style, Color, and Kit for Your Hair
Before you start highlighting your hair at home, you need to decide on a few things: the style, the color, and the kit. Here are some tips to help you make the best choices for your hair.
- Style: There are many different types of highlights, such as balayage, ombré, babylights, chunky highlights, etc. Each one has a different effect on your hair, depending on how thick, thin, or blended the highlights are. You can also choose to highlight only certain parts of your hair, such as the front, the ends, or the crown. The style you choose should match your personal preference, face shape, and hair length. For example, if you have long hair and want a natural-looking result, you might opt for balayage highlights that are hand-painted on your hair. If you have short hair and want a more dramatic change, you might go for chunky highlights that are thicker and more noticeable.
- Color: The color of your highlights should complement your base color and skin tone. Generally speaking, you should aim for a color that is one or two shades lighter than your natural or dyed hair color. Going too light can create an unnatural or harsh contrast that can wash out your complexion. You can also experiment with different tones of highlights, such as warm (golden or honey), cool (ashy or platinum), or neutral (beige or champagne). The tone you choose should flatter your skin undertone (warm, cool, or neutral). For example, if you have warm skin undertones, you might look better with warm-toned highlights. If you have cool skin undertones, you might prefer cool-toned highlights.
- Kit: The kit you use to highlight your hair at home should suit your hair type and condition. If you have dark or previously colored hair, you will need to use bleach to lighten your hair before applying the highlight color. If you have light or virgin hair, you might be able to skip the bleach and use a permanent or semi-permanent dye that is lighter than your base color. You should also look for a kit that comes with everything you need for the highlighting process, such as gloves, applicator brush or cap, mixing bowl or bottle, developer, toner (optional), and instructions. You can find many options of highlighting kits online or at drugstores.

2. How to Prepare Your Hair and Workspace for the Highlighting Process
Once you have chosen your highlight style, color, and kit, you are ready to prepare your hair and workspace for the highlighting process. Here are some steps to follow:
- Wash and dry your hair: It is recommended to wash your hair 24 hours before highlighting it to remove any dirt, oil, or product buildup that might interfere with the color development. You should also dry your hair completely before applying the highlight product, as wet hair can dilute the product and make it less effective.
- Divide your hair: To make the highlighting process easier and more precise, you should divide your hair into four sections: two in the front and two in the back. You can use clips or elastics to secure each section. You will work on one section at a time, starting from the back.
- Protect your skin and clothes: To prevent staining your skin or clothes with the highlight product, you should wear an old shirt or wrap a towel around your shoulders. You should also wear gloves to protect your hands from the chemicals in the product. You can also apply some petroleum jelly along your hairline and ears to create a barrier between your skin and the product.
- Set up your workspace: You should choose a well-lit and ventilated area where you can highlight your hair comfortably. You will need a mirror (preferably two), a timer (or a phone), some paper towels or cotton pads (for cleaning up any spills or drips), and a comb (for sectioning your hair). You should also have your highlight kit and instructions ready and nearby.
3. How to Apply the Highlight Product to Your Hair Using Different Techniques
Now that you have prepared your hair and workspace, you can start applying the highlight product to your hair using different techniques. Here are some common techniques that you can use, depending on your highlight style and kit:
Foil technique – How to Highlight Hair
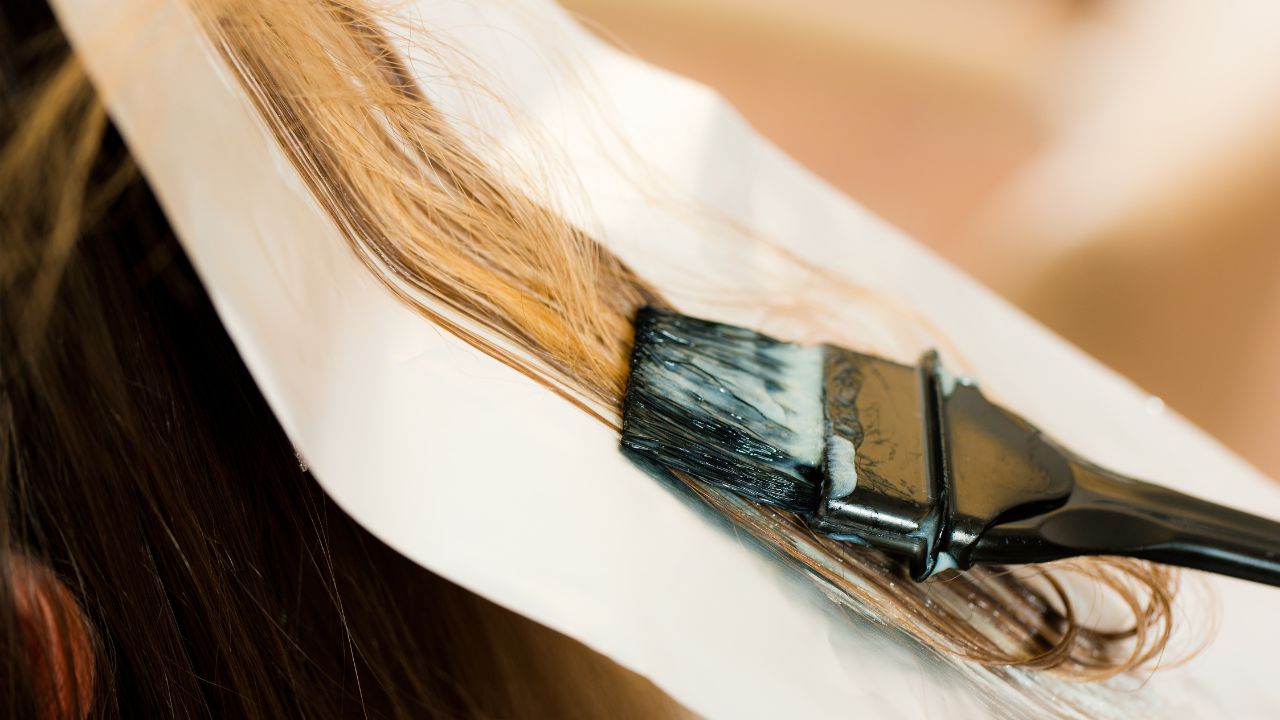
This technique involves using aluminum foil to wrap the sections of hair that you want to highlight. This helps to isolate the highlighted strands from the rest of your hair and create a more even and consistent color. To use this technique, you will need to cut some pieces of foil that are slightly longer and wider than your hair sections. You will also need to mix the highlight product according to the instructions on your kit. Then, you will follow these steps:
- Take one section of hair from the back and comb it to remove any tangles. Then, take a thin slice of hair from the top of the section and place it over a piece of foil.
- Apply the highlight product to the slice of hair using the applicator brush, starting from a few inches away from the roots and going down to the ends. Make sure to saturate the hair evenly with the product.
- Fold the foil over the hair and secure it by folding the edges. This will create a packet that contains the highlighted hair.
- Repeat this process with more slices of hair from the same section, leaving some space between each slice. You can vary the thickness and placement of the slices depending on how subtle or dramatic you want your highlights to be.
- Move on to the next section of hair and repeat the same steps until you have covered all four sections.

Cap technique
This technique involves using a plastic cap with small holes to pull out strands of hair that you want to highlight. This helps to create a random and natural-looking effect on your hair. To use this technique, you will need a highlighting cap (which usually comes with your kit) and a metal hook (also included in your kit). You will also need to mix the highlight product according to the instructions on your kit. Then, you will follow these steps:
- Put the cap on your head and secure it with some clips or elastics. Make sure that it fits snugly and covers all of your hair.
- Use the metal hook to poke through one of the holes in the cap and pull out a small strand of hair. The strand should be thin and even, not thick or clumpy.
- Apply the highlight product to the strand of hair using your fingers or a brush, starting from a few inches away from the roots and going down to the ends. Make sure to coat the strand well with the product.
- Repeat this process with more strands of hair from different holes in the cap. You can choose how many strands you want to highlight depending on how subtle or dramatic you want your highlights to be.
- Leave the cap on your head until you are ready to rinse off the product.
Balayage technique
This technique involves using a freehand painting method to apply the highlight product to your hair. This helps to create a soft and blended effect on your hair, with no harsh lines of demarcation. To use this technique, you will need a paddle or a board (which can be a piece of cardboard or plastic) and some clips or elastics. You will also need to mix the highlight product according to the instructions on your kit. Then, you will follow these steps:
- Take one section of hair from the back and comb it to remove any tangles. Then, divide it into smaller subsections and secure them with clips or elastics.
- Take one subsection and place it over the paddle or board. Hold it taut with one hand and use the other hand to apply the highlight product with the applicator brush.
- Start from the mid-lengths of the hair and paint the product in a sweeping motion towards the ends. You can also paint some strokes closer to the roots for a more natural look. The amount of product you use and the placement of the strokes depend on how light or dark you want your highlights to be.
- Repeat this process with more subsections from the same section, leaving some space between each subsection. You can also alternate between thick and thin subsections for a more varied effect.
- Move on to the next section of hair and repeat the same steps until you have covered all four sections.
4. How to Rinse, Dry, and Style Your Highlighted Hair
After you have applied the highlight product to your hair using your chosen technique, you need to rinse, dry, and style your highlighted hair. Here are some steps to follow:
- Rinse: You need to rinse off the highlight product from your hair after a certain amount of time, depending on your kit instructions and your desired result. You can use a timer or a phone to keep track of the time. When the time is up, remove the foil, cap, or paddle from your hair and rinse it thoroughly with warm water until the water runs clear. You can also use a gentle shampoo and conditioner to wash and condition your hair after rinsing.
- Dry: You need to dry your hair completely before styling it. You can use a towel to blot out the excess water from your hair and then use a blow dryer or let it air dry. You should avoid using high heat or rubbing your hair too vigorously, as this can damage your hair and fade your highlights.
- Style: You can style your highlighted hair as you normally would, using your favorite products and tools. You can also use some products that are specially designed for highlighted hair, such as shine spray, toning shampoo, or color-protecting serum. These products can help to enhance and preserve the color and shine of your highlights.
5. How to Care for and Maintain Your Highlighted Hair
The last step to highlighting your hair at home is caring for and maintaining your highlighted hair. Highlights can fade or change color over time due to various factors, such as sun exposure, washing frequency, water quality, etc. To keep your highlights looking fresh and vibrant, you should follow these tips:
- Wash your hair less often: Washing your hair too often can strip away the natural oils and moisture from your hair and make your highlights dull or brassy. You should try to wash your hair only 2 or 3 times a week, using lukewarm water and a sulfate-free shampoo and conditioner that are formulated for colored or highlighted hair.
- Use a toner: A toner is a product that helps to neutralize unwanted tones in your highlights, such as yellow, orange, or red. You can use a toner once every few weeks or whenever you notice that your highlights are losing their luster or becoming too warm or cool. You can find toners in different shades (such as purple, blue, or green) that match your highlight tone online or at drugstores. To use a toner, you will need to apply it to damp hair after shampooing and leave it on for 5 to 10 minutes before rinsing it off.
- Protect your hair from heat and sun: Heat and sun can damage your hair and make your highlights fade faster. You should always use a heat protectant spray before using any hot tools (such as curling irons or flat irons) on your hair. You should also wear a hat or a scarf when going outside in sunny weather or use a UV protectant spray on your hair.
- Trim your hair regularly: Trimming your hair regularly can help to prevent split ends and breakage that can ruin your highlights. You should trim your hair every 6 to 8 weeks or whenever you notice that your ends are dry or frizzy.
- Touch up your highlights: Touching up your highlights can help to keep them looking fresh and consistent throughout your hair. You can touch up your highlights every 6 to 8 weeks or whenever you notice that your roots are showing or your highlights are fading. You can use the same kit and technique that you used to highlight your hair at home or you can go to a salon for a professional touch-up.
Highlighting your hair at home can be a fun and rewarding way to change up your look and add some dimension and shine to your hair. By following this guide, you can learn how to highlight your hair at home with different styles, colors, and kits. You can also learn how to rinse, dry, style, care for, and maintain your highlighted hair. Highlighting your hair at home can save you time and money and give you more control over your appearance. Try highlighting your hair at home today and discover a new way to express yourself.
6. FAQs
6.1. What are hair highlights, and what do they do?
Hair highlights are a coloring technique used to add dimension and brightness to the hair. They involve lightening specific strands or sections of hair to create contrast with the natural color.
6.2. Can I highlight my hair at home, or should I go to a salon?
While it’s possible to do hair highlights at home, it’s generally recommended to visit a salon for professional results, especially if you’re new to highlighting. A professional colorist can help you achieve the desired look and avoid common mistakes.
6.3. What are the different types of hair highlights?
Common types of hair highlights include foil highlights, balayage, ombre, and babylights. Each technique creates a different effect, from subtle and natural to bold and contrasted.
6.4. How do I maintain my hair highlights once they’re done?
To maintain hair highlights, use color-safe and sulfate-free hair products, protect your hair from sun damage, and get regular touch-ups as needed. Deep conditioning treatments can also help keep your hair healthy.


