
There are many how to screenshot that are very convenient and simple to manipulate on Windows 10 that you may not know. The following article will show you 7 easy ways to take a screenshots on Windows 10.
Table of Contents,
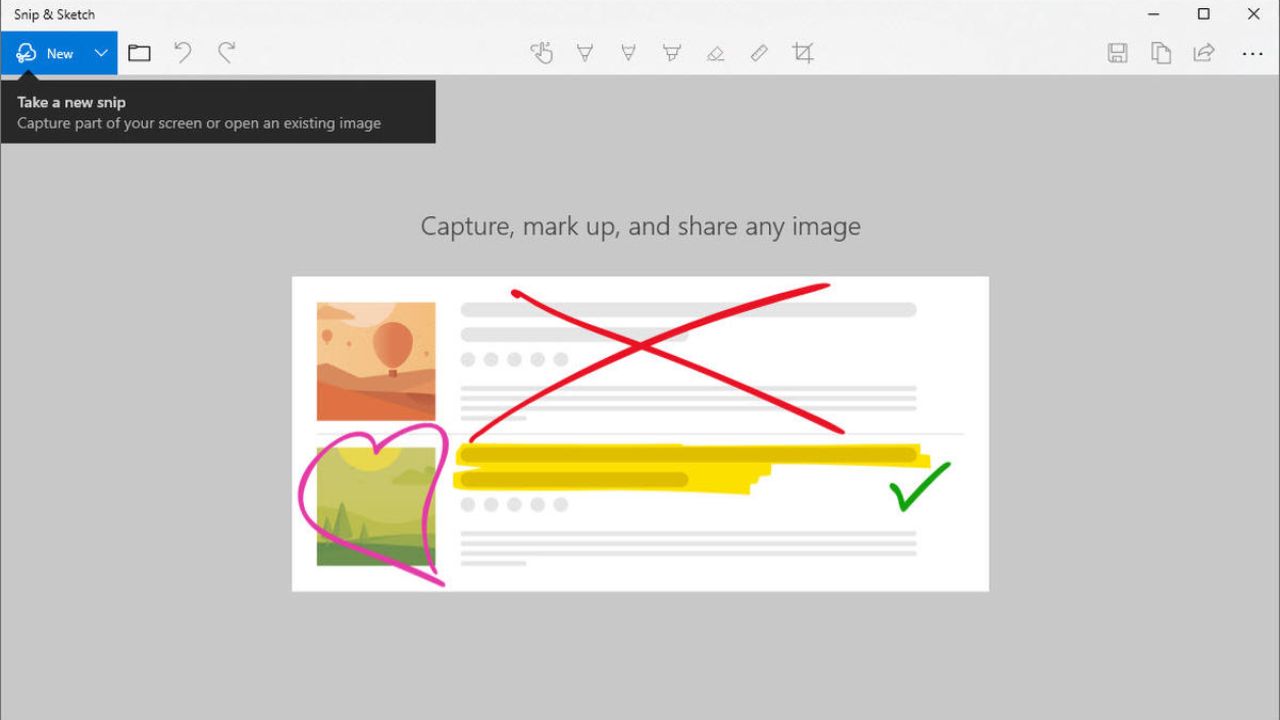
1. Snip & Sketch – How to take a screenshot quickly
Snip & Sketch is a screen capture utility developed by Microsoft and built into Windows 10 from version 1607 and up. However, if you can’t find it, you can download it from the Microsoft Store.
With the Snip & Sketch feature, you will have all the basic tools for you to edit images such as Touch Writing, Ballpoint pen, Pencil, Highlighter, Ruler/Protractor and Crop tool.
When done, press the Save button on the left corner of the application to save the image or press Ctrl + S.
It’s as simple as that, without the need for any third-party applications or having to download an extra feature, but you have countless ways to capture the computer screen on Windows 10.
2. Snipping tool
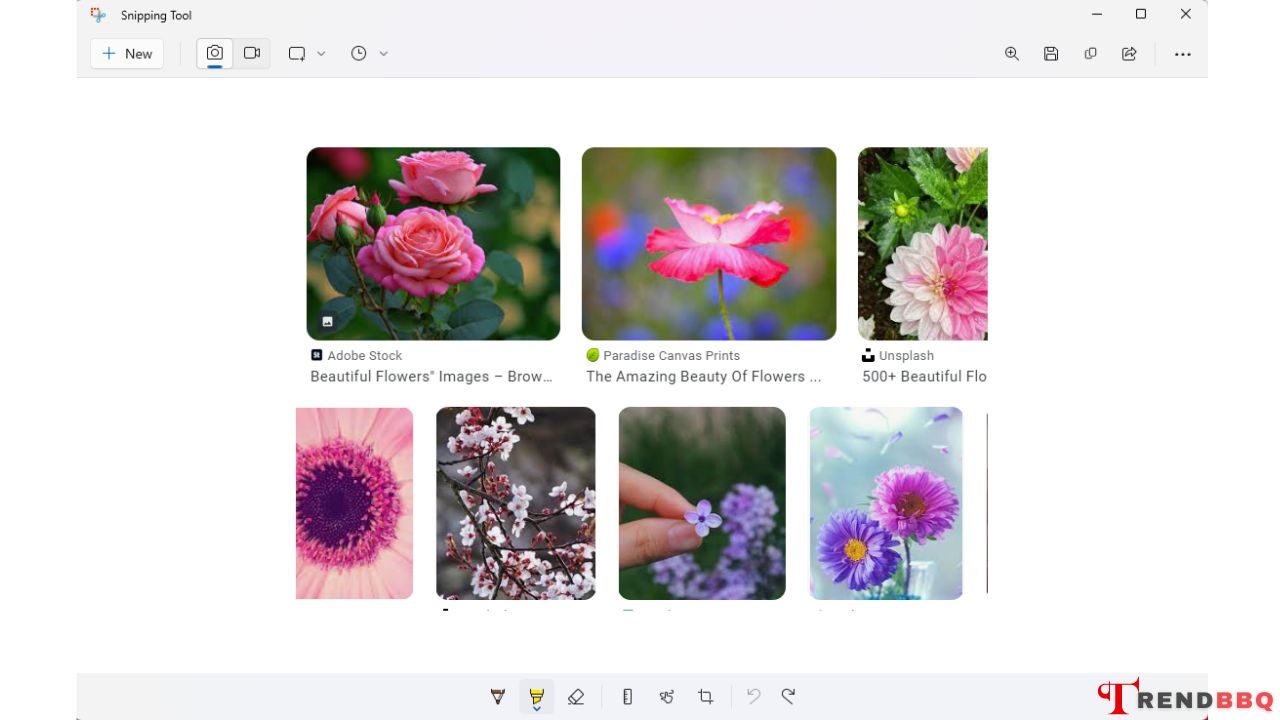
The next way to take a screenshot is to use the tool available in the windows computer. This is a screen capture support utility developed by Microsoft itself and built into Windows Vista and above. It can record anything that appears on the screen, from an open window, rectangular areas, the entire screen or as large or small as you want.
Before opening the application, press the Windows + S combination, the search bar will appear, then enter the name Snipping Tool in the search bar and press Enter to open the application. Here is the meaning of the icons in the Snipping Tool:
- New button to take screenshot.
- Mode button to customize how you will take screenshots (freehand, full screen, rectangle, window).
- Delay button to delay the screen capture time, up to 5 seconds.
- Cancel button to cancel the current task.
- Options button to adjust the settings in the Snipping Tool.
Unlike the way above, the Snipping Tool feature will let you choose the folder you want to save the image and you just need to save the file in that folder. Due to measurement, you can easily review or edit images.
3. Use the PrtScn . key
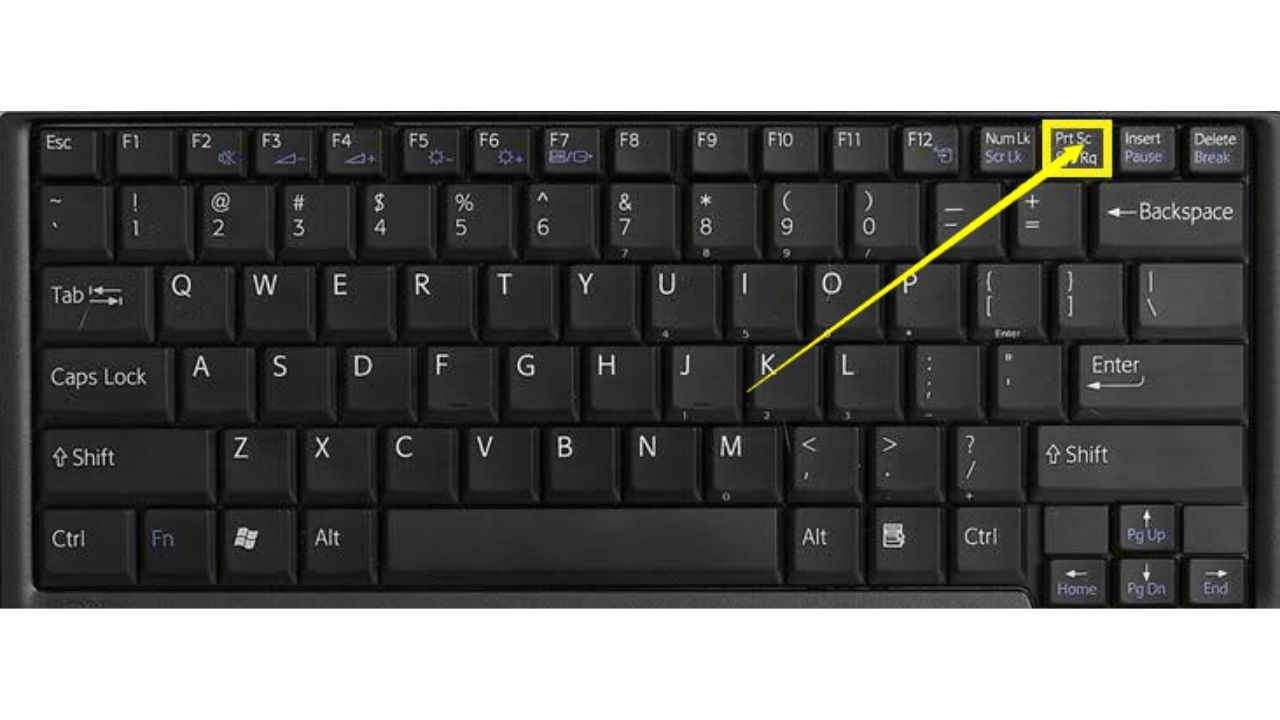
How to take a screenshot with the PrtScn shortcut is certainly familiar to laptop users. The Print Screen shortcut has the abbreviation PrtScn, this is the key available on the keyboard in the right corner. Shortcuts have the function to capture the entire display screen on the computer. Simple operation, just press the PrtScn key, after pressing it, the snapshot is not saved as a file, but it will be copied to the clipboard – clipboard. To view/or save the captured image, do the following:
- You proceed to open editing tools such as online chat frames, word, Paint
- Press the key combination Ctrl + V on the keyboard
- Right-click an empty space on the opened application and select Paste.
4. Use the Windows + Print Screen key combination
In case you want to capture the entire screen and be automatically saved the capture. No need to worry, with just a simple operation with the Windows + Print Screen key combination, you have quickly completed capturing the entire computer screen.
After pressing the key combination, the captured image will be saved as a separate file in the Screenshot folder. To review the photos, go to Picture => Screenshots folder.
5. Use the key combination Windows + shift + S
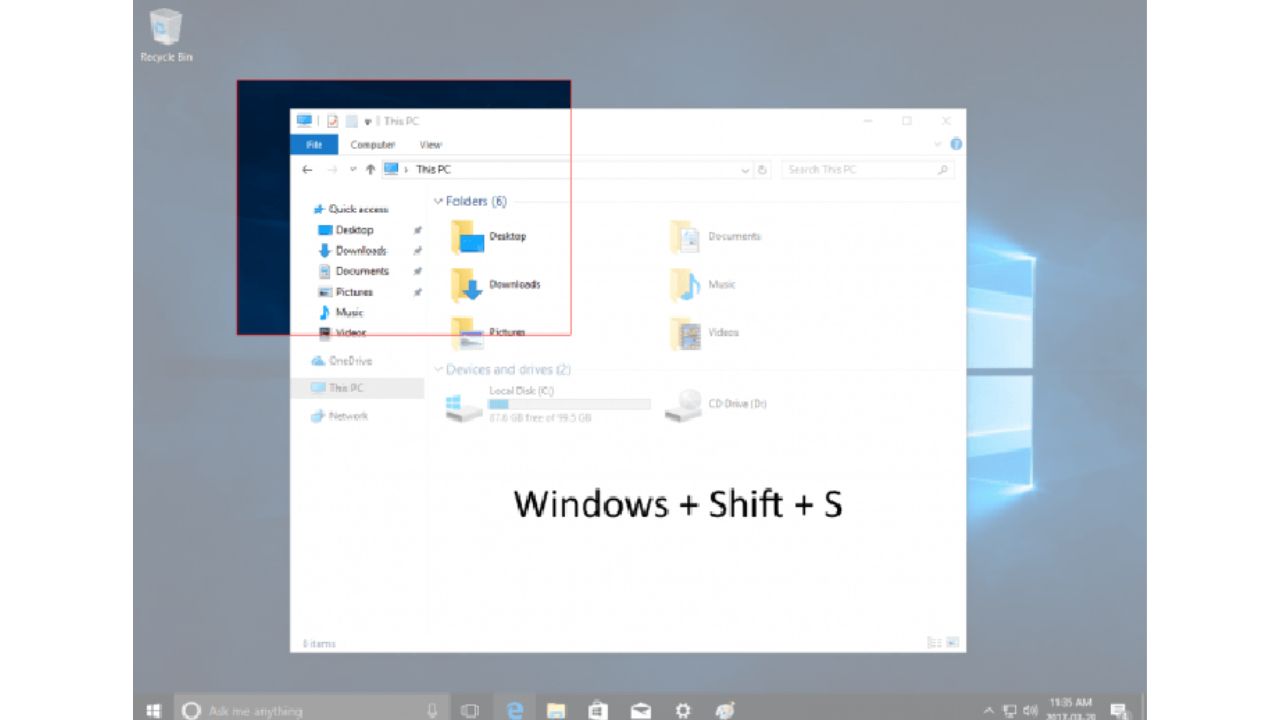
Besides the above 4 ways, you can use the Windows + Shift + S key combination (or the new screenshot button in Action Center) to take a screenshot of the computer screen. When you press the combination, the screen will dim, you proceed to drag and select the screen you want to capture.
6. Use the key combination Alt + Print Screen
When you want to take a screenshot of your computer screen, it’s very simple with a keyboard operation. To take a snapshot of the active window’s screen, press Alt + PrtScn.
After performing this key combination will take a picture of your currently active window and copy the screenshot to the clipboard. Therefore, when you want to view, save or edit the captured image, you perform the same operation as method 1.
- Open editing tools such as online chat frames, word, Paint
- Press the key combination Ctrl + V on the keyboard
- Right-click an empty space on the opened application and select Paste.
7. Use the Game bar – How to take a screenshots simple
The last way to take a screenshot in the article is to use the Game bar, which is extremely easy to use by pressing the Windows key + G key combination to launch the Game Bar.
After the Game Bar appears, you can click the screenshot button in the Game Bar or use the default keyboard shortcut Windows + Alt + PrtScn to take a full screen screenshot.
Also, you want to set your own Game bar screenshot keyboard shortcut, go to Settings => Gaming => Game bar. After a period of backup, enable Game bar from this settings page by making sure Record game clips, screenshots, and broadcast using Game bar is enabled.
Above is an article on 7 easy how to screenshot on Windows 10. Hopefully the article of Trendbbq.com provides useful information for you to take screenshots on your computer more quickly and conveniently!


Thank you for your sharing. I am worried that I lack creative ideas. It is your article that makes me full of hope. Thank you. But, I have a question, can you help me?
Can you be more specific about the content of your article? After reading it, I still have some doubts. Hope you can help me.
I don’t think the title of your article matches the content lol. Just kidding, mainly because I had some doubts after reading the article.
Your article helped me a lot, is there any more related content? Thanks! https://www.binance.com/si-LK/register?ref=V2H9AFPY
Thank you for your sharing. I am worried that I lack creative ideas. It is your article that makes me full of hope. Thank you. But, I have a question, can you help me?
Thanks for sharing. I read many of your blog posts, cool, your blog is very good.
Thank you for your sharing. I am worried that I lack creative ideas. It is your article that makes me full of hope. Thank you. But, I have a question, can you help me?
Your point of view caught my eye and was very interesting. Thanks. I have a question for you.
Thanks for sharing. I read many of your blog posts, cool, your blog is very good. https://www.binance.info/si-LK/register?ref=V2H9AFPY
Pessoal, se liguem nessa dica: 7bet games! É uma plataforma completa, com variedade de jogos e um atendimento ao cliente top. Vale a pena conferir!
Your point of view caught my eye and was very interesting. Thanks. I have a question for you.
Can you be more specific about the content of your article? After reading it, I still have some doubts. Hope you can help me.
Thank you for your sharing. I am worried that I lack creative ideas. It is your article that makes me full of hope. Thank you. But, I have a question, can you help me? https://www.binance.com/ph/register?ref=B4EPR6J0
I don’t think the title of your article matches the content lol. Just kidding, mainly because I had some doubts after reading the article. https://www.binance.info/vi/register?ref=WTOZ531Y
Thank you for your sharing. I am worried that I lack creative ideas. It is your article that makes me full of hope. Thank you. But, I have a question, can you help me?
Can you be more specific about the content of your article? After reading it, I still have some doubts. Hope you can help me.
Thanks for sharing. I read many of your blog posts, cool, your blog is very good. https://www.binance.com/register?ref=IXBIAFVY